Installation
The instructions are intended for version Beta 0.9+.
Requirements
- Grand Theft Auto: San Andreas 1.0 (Hoodlum) — a clean installation is strongly recommended, as the modification has not been tested with other mods.
- DirectX 9
- Microsoft Visual C++ 2015–2019 Redistributable x86
In most cases DirectX 9 and Visual C++ are already installed, but it's advisable to verify.
Step 1 — Remove old LDYOM files
Files from LDYOM 0.7.x and 0.8.x are not compatible with Beta 0.9+. If you have a previous version installed, remove the following files from your GTA San Andreas folder before proceeding:
LDYOM.asiLDYOM\folder
Step 2 — Install ASI Loader
You will need an ASI Loader to run .asi plugins. If you already have CLEO installed, Silent's ASI Loader is likely already present. However, it is recommended to use Ultimate ASI Loader instead.
How to replace Silent's ASI Loader with Ultimate ASI Loader
- Download
vorbisFile.dllfrom the Ultimate ASI Loader releases page. - Move it to the game folder, replacing the existing file.
Step 3 — Install CLEO
Install CLEO 5.4+ following the official instructions. If you already have an ASI Loader installed, skip copying vorbisHooked.dll and vorbisFile.dll.
Step 4 — Install LDYOM
Download the latest version of the modification from the download page, then:
- Copy all files from the
In GTAfolder into your GTA San Andreas game folder. - Place the
MPACKfolder inDocuments\GTA San Andreas User Files. - Optionally, copy files from the
In GTA (Optional)folder to the game folder. These are auxiliary modifications: Visual Player Image and Interior Teleport Menu. More details about them can be found on their respective pages.
Step 5 — Launch the game
After installing, launch GTA San Andreas and verify the modification is working correctly.
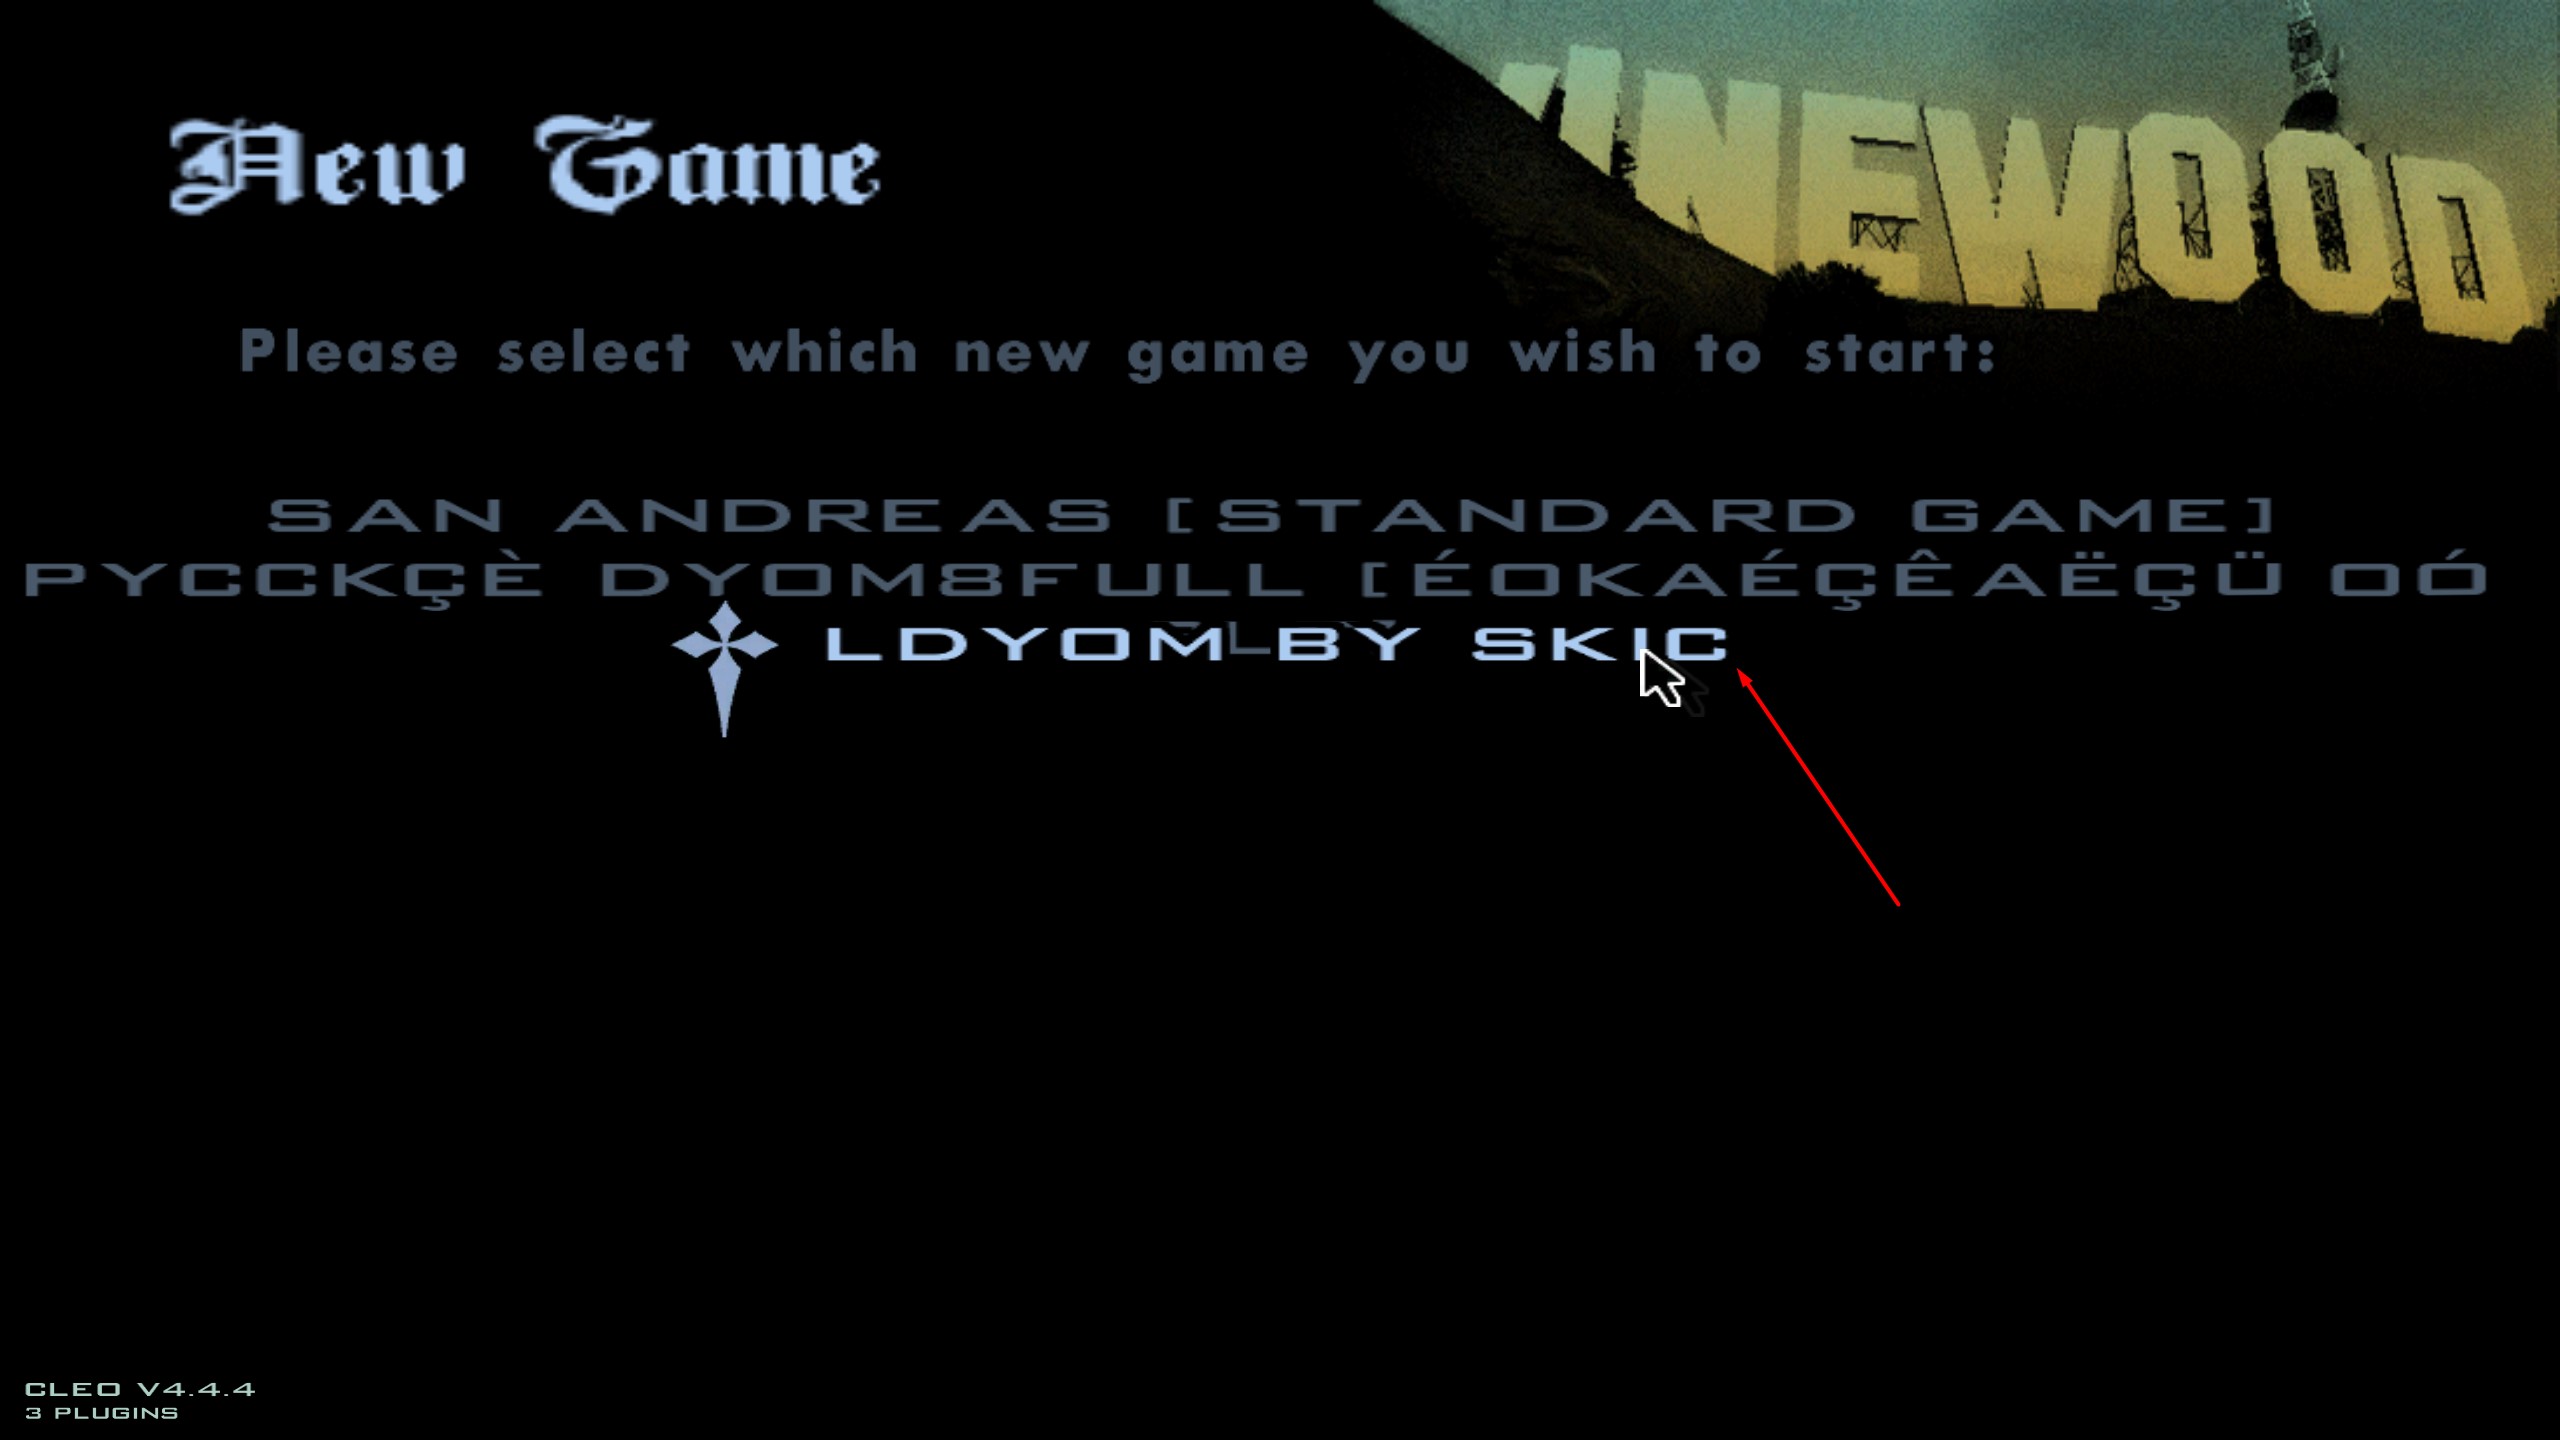 Game selection menu
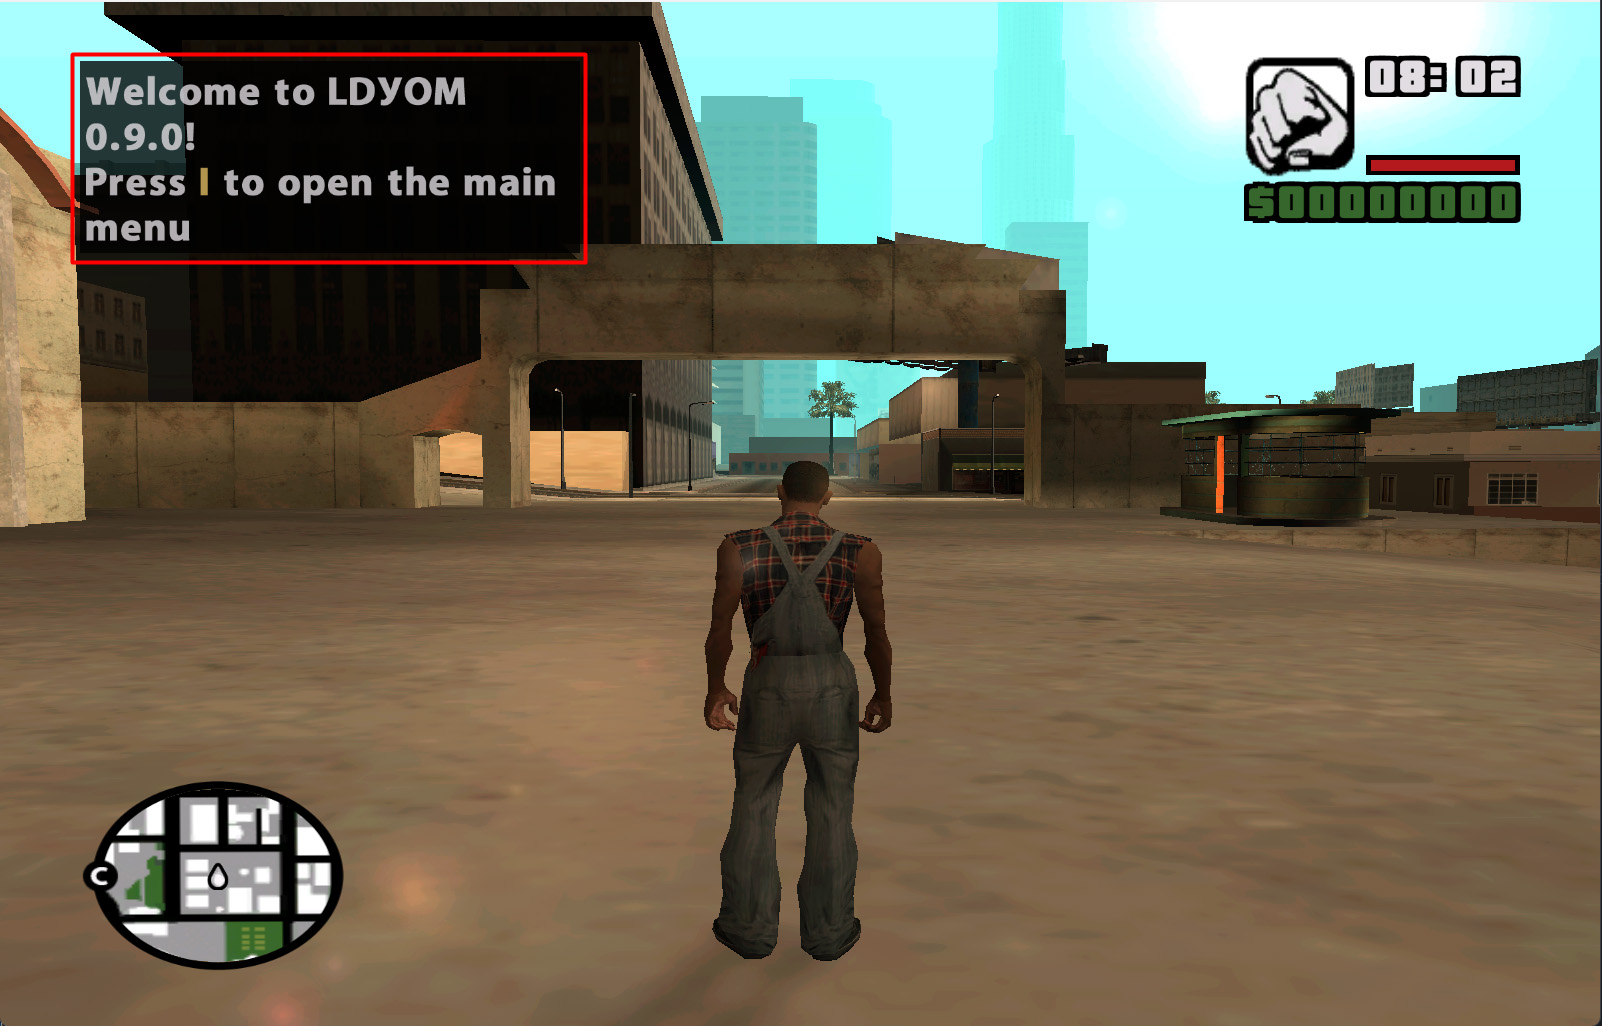 Welcome window of the modification
Troubleshooting
If you encounter any problems, please reach out via: